
How to lay
vinyl flooring
Quick-Step vinyl flooring: easy to install
All Quick-Step vinyl floors are very easy to install. All it takes is a few tools, a little patience, and some dedication. Download the full installation instructions that are specific to your floor, watch the video and follow the step-by-step guide for a smooth installation.
Download the vinyl flooring installation instructions
Watch the vinyl installation videos


Step-by-step guide for Alpha Vinyl floor installation
Preparation
STEP 1: Collect your tools
Make sure to have everything you need on hand, from a vinyl installation tool to a pencil and notebook. Save yourself a few trips and ensure you have all the tools listed in the video ready to go.
STEP 2: Golden rules
Before installing the floor, make sure both the space and the floor meet certain requirements:
- The floor should be acclimated to the room.
- The moisture level of the underlying floor must be within the acceptable range.
- The room temperature should remain above 0°C throughout the year.
Be sure to review the instructions with this specific information carefully before proceeding with the installation.
STEP 3: Prepare your subfloor
First, you’ll need to inspect the subfloor. While Alpha Vinyl can handle most irregularities, we highly recommend making sure the surface is level, stable and clean, and to remove all existing floor covering before getting started.
STEP 4: Door profile installation
Shorten the doorframes to accommodate the floor height and allow for extra expansion (tension free). Install a profile track before you begin laying the floor.
STEP 5: Unroll your underlay
If you're using a vinyl floor without an attached underlay, you should first unroll the vinyl underlay. Then, lay one row at a time, pushing it as close as possible to the wall, and ensure you're working in the same direction as you plan to lay the floor. Use adhesive tape to connect the rows and prevent any damage.
Installation
STEP 6: Start laying your Alpha Vinyl floor
- First, check how many full rows of planks you will need by dividing the width of the room by the width of a plank.
- Make a mark on the wall where you’ll be laying your last full plank. The last plank should be at least 5 cm wide to ensure easy installation.
- Unpack your planks and mix them up to avoid laying identical patterns and colour variations too close together.
- For best results, start laying your first row of Alpha Vinyl planks in line with the longest wall, but not flush against it (as walls are hardly ever perfectly straight).
- Make sure to alternate your alignment so that end joints of successive rows are never in line. We recommend at least 30 cm between them.
- Click the first plank of the second row into the first plank of the first row (see video) and keep going like that.
- Alpha Vinyl is not intended for "glued-down" installation.
Creating a herringbone pattern? Ordinarily, you’d need two different types of planks, A and B, which would mean slower and trickier installation. Not with Alpha Vinyl. Our herringbone floor has one ingenious type of plank that clicks on both sides, thanks to the Unizip system. Watch the video to install your Ciro floor.
STEP 7: Cut your Alpha Vinyl floor
Inevitably, you’ll need to cut your Alpha Vinyl planks to complete your floor. Wear gloves and use a pencil to draw your cutting lines. Always saw your planks with the top surface decoration facing upwards.
Finishing
STEP 8: Finish your Alpha Vinyl floor in style
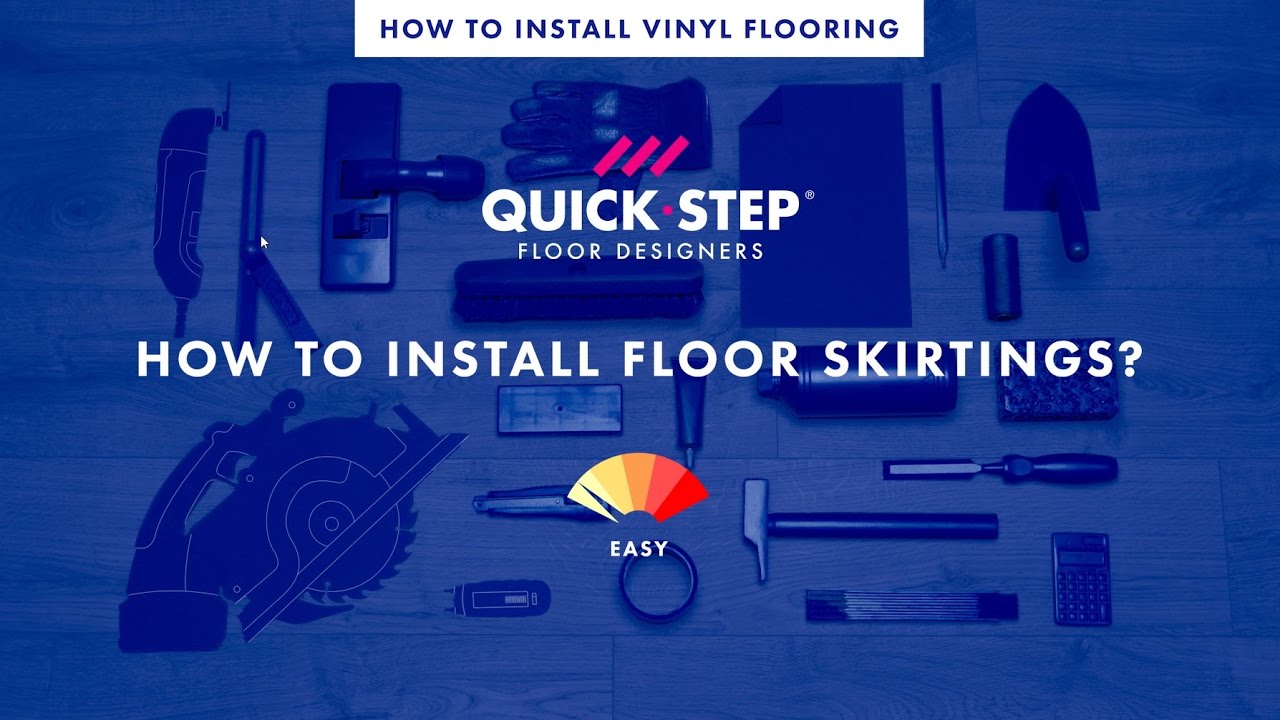
Almost there! Now, it’s time to complete the picture with matching skirting boards, finishing profiles, stair covers and other finer touches. After all, it’s all in the details!
Step-by-step guide for Vinyl Flex floor installation
Preparation
STEP 1: Choose your installation method
You’ll want to walk on your beautiful new floor as soon as possible, so installation is key. Choose either a glued-down option, or opt for Flex Pro underlay.
- Glue down your Vinyl Flex floor with Quick-Step Vinyl Glue+ developed for a strong and fast installation. Ideal for large rooms, increased sound reduction, and high-temperature spaces.
- Flex Pro Pure has a self-adhesive side, so you don’t have to fumble around with a tube of glue. Just peel off the strip and fix the plank or tile to the underlay. This ensures quick, clean installation with no mess on your subfloor. All with a little room for some final adjustments. Flex Pro is kind to the planet. The underlay is made from sustainable raw materials, including plant-based oils and mineral components such as chalk.
STEP 2: Gather your tools
Save yourself a few trips and make sure you have the following tools handy: ruler, pencil, square, cut-resistant safety gloves and goggles, string/chalk line, Quick-Step vinyl cutter knife, a roller of at least 50 kg.
Glued-down installation: + A2 Quick-Step glue trowel.
Flex Pro installation: + spacers.
Find all the installation tools you needFind all the finishing tools you need
STEP 3: Golden rules
Before installing the floor, make sure both the space and the floor meet certain requirements:
- The floor should be acclimated to the room.
- The moisture level of the underlying floor must be within the acceptable range.
- The room temperature should remain above 5°C throughout the year.
Be sure to review the instructions with the specific information carefully before proceeding with the installation.
STEP 4: Prepare your subfloor
With Vinyl Flex, it’s important to ensure that your subfloor is perfectly level and free of any irregularities to avoid problems later on. Always smooth out tile/grout joints and don’t forget to check for mold or moisture.
Learn more about subfloor preparation
STEP 5: Door profile installation
Shorten the door frames to accommodate the floor height and allow for extra expansion (tension-free). Install a profile track before you begin laying the floor.
STEP 6: Unroll your underlay
(in case of Flex Pro Pure installation)
It’s about to go down! Roll out your underlay and push it as close as possible against the wall. Lay one row at a time and make sure you go in the same direction as you plan to lay your floor.
For more information on how to install your Flex Pro underlay, download the Flex Pro technical datasheet.
Installation
STEP 7: Start laying your Vinyl Flex floor
- First, check how many full rows of planks you will need by dividing the width of the room by the width of a plank.
- Unpack your planks and mix them up to avoid laying identical patterns and colour variations too close together.
- We recommend to dry fit first (without glue). Start the first row with a whole plank in length. Lay the second and third row dry fitted.
- Make sure to alternate your alignment so that end joints of successive rows are never in line. We recommend at least 30 cm between them.
- When installing the first row against the wall, be sure to cut the panel in order to follow the shape of the wall.
- Draw a line along the first two dry fitted rows. This line marks to which point the glue should be applied.
- Remove the dry fitted panels and apply the glue on the floor between the marked line and the wall.
- Install the first three rows following the starting line.
- Use the same procedure to complete the rest of the room.
If you prefer to install the floor on a Flex Pro Pure underlay, no glue is required. After unrolling the underlay, simply peel off the top layer and stick the planks or tiles one by one onto it.
For more detailed information, download the full installation instructions.
STEP 8: Cut your Vinyl Flex floor
Inevitably, you’ll need to cut your beautiful Vinyl Flex planks to complete your floor. Wear gloves and use a pencil to draw your cutting lines. Always cut your planks using the concave knife and the vinyl installation tool, and make sure the top surface decoration is facing upwards. You do not need to completely cut through the vinyl, score the surface only. Then break off the panel by using both hands.
Finishing
STEP 9: Finish your Vinyl Flex floor in style
Almost there! Now, it’s time to complete the picture with matching skirting boards and finishing profiles and other finer touches. Perfection is in the details!
Still got questions?
Need help finishing your project to your satisfaction?
Take a look at our help centre, which contains answers to the most frequently asked questions!